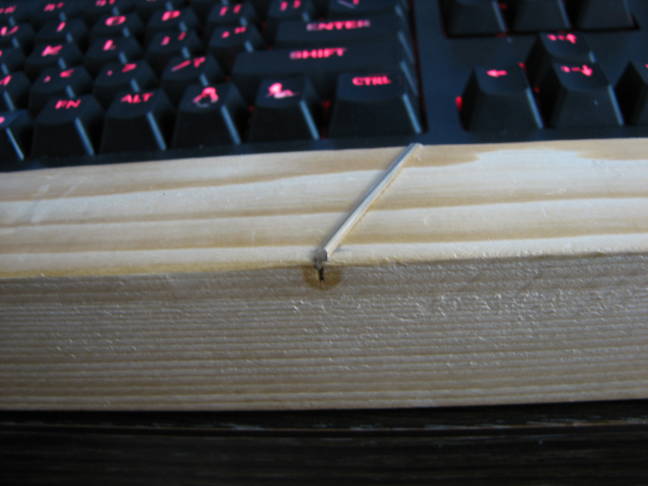
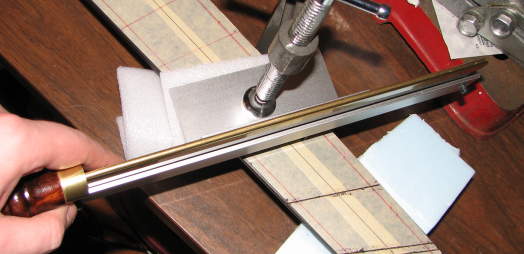
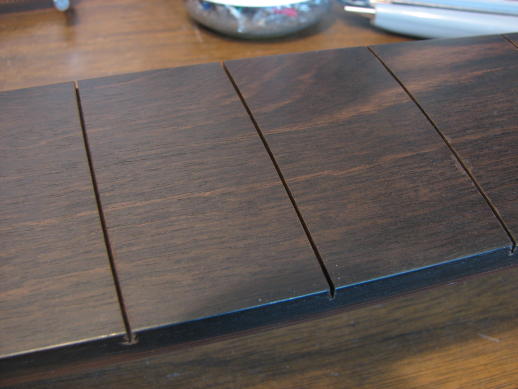
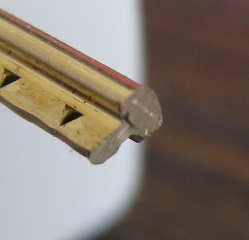
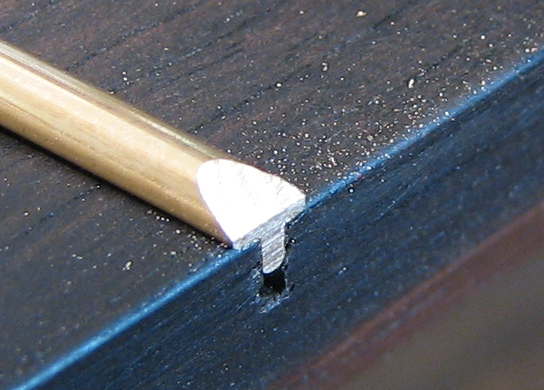
I rigged up my own depth stop for the saw by sandwitching the sawblade between a couple pieces of aluminum flat-bar which I drilled and tapped. I tested it with some junk wood first just to see how it worked, and to build up some confidence before I hacked into an expensive neck.
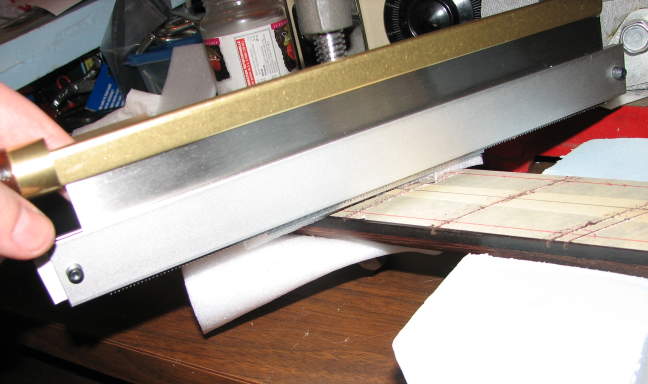
I did all the cuts by clamping a piece of 2" aluminum angle to the neck with a C clamp (padded of course) and sliding the saw flat against it. It was a little bit sketchy, but I got them all quite accurate.
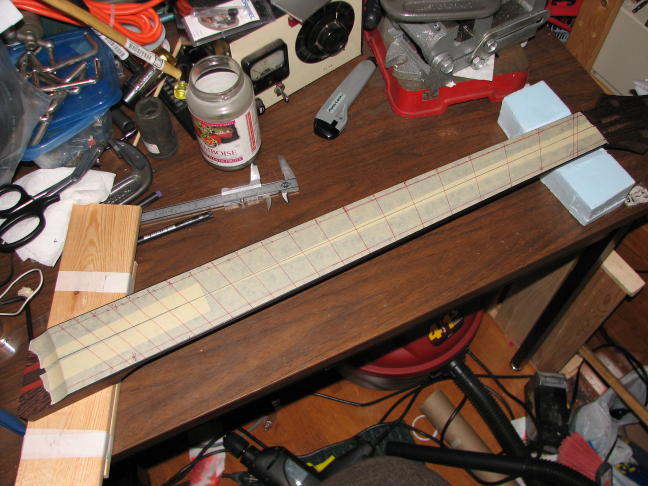
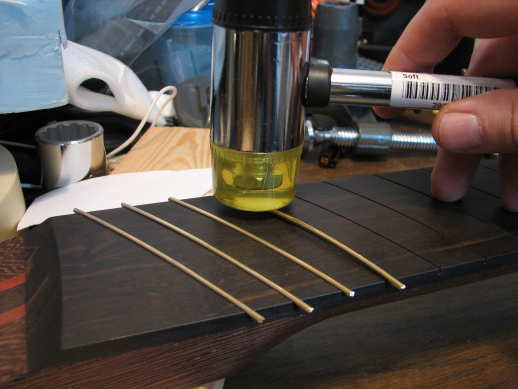
Next it was time to peel off the tape and install the frets. I cut the frets approximately to length and tapped them into the slots with a plastic hammer. This part was actually a lot easier than I thought. I just left the natural curve in the wire and tapped it all in starting from one side and working my way across.

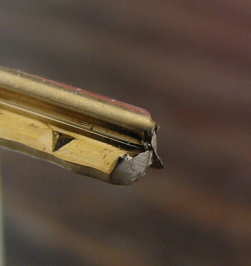
I then tried cutting the frets off close to flush with the side of the neck, but they were difficult to cut, and didn't come out cleanly at all.
I pulled the handle off of a fairly fine mill bastard file and filed the frets down flush with the ends of the board. Hold it parallel to the edge of the fretboard and it'll stop chattering when you get down to the wood. As long as you hold it flat it shouldn't really mark it up.
I then beveled the fret ends. I did them at a very shallow angle, mostly because I liked the way they looked and could easily get away with it, since the strings aren't too close to the edges of the fretboard.
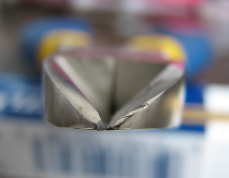
I don't know that I'm going to build enough basses to justify buying the proper files at this point, so I took some other square and triangular files and ground some safe edges on them. I took one of the faces off of the square, and one of the points off of the triangle. this way I could file with the dull face/edge resting against the fretboard. With a few strokes on each fret end, I first took off the razor sharp corners, then rounded off the edges of the bevel slightly.
While doing this I noticed that a few frets had popped up. I think I must have rocked the saw and widened the slots a bit while I was cutting them because they wouldn't stay down no matter what I did. I bought some water-thin CA glue with a nice pointy applicator. I clamped the neck sideways and held the fret down (while wearing some gloves) and dripped the glue in the exposed part of the slot on the edge of the board. About 6-7 drops and it would drip out the other side. I had an acetone soaked rag ready to go, and immediately wiped off the extra drips before they had any time to cure. Repeat a few times for a couple others that didn't seem to be sitting quite as deep as they should, and I was done with the neck for now.