The Build, Continued:
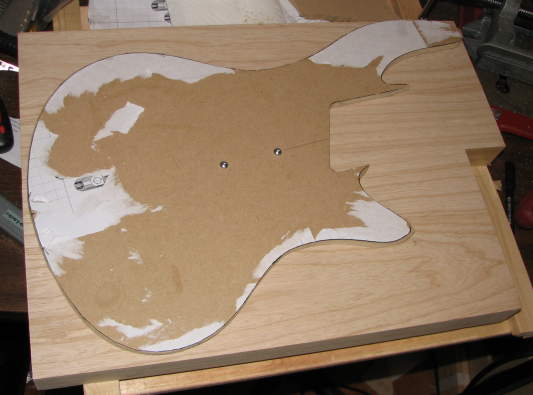
Now to cut out the body. I don't have a bandsaw, so I figured I'd just make
a template and cut it out with a router. This turned out to be a bad idea.
It worked out alright, but took way too long, and the result was rough
enough that it required a lot of cleanup afterwards.
 I'd recommend finding a different way to do it. A bandsaw would be best. A
jigsaw, or even a coping saw (and lots of time). A router would probably
work well with a template bit with a very shallow cut, but don't try and do
it with a 1 inch one like I did. I made the mistake
of trying to do the neck pocket on the same template as the body. It should
have been seperate, though this too wouldn't have been an issue if I just
sawed out the body with a more appropriate tool.
I'd recommend finding a different way to do it. A bandsaw would be best. A
jigsaw, or even a coping saw (and lots of time). A router would probably
work well with a template bit with a very shallow cut, but don't try and do
it with a 1 inch one like I did. I made the mistake
of trying to do the neck pocket on the same template as the body. It should
have been seperate, though this too wouldn't have been an issue if I just
sawed out the body with a more appropriate tool.
CRAP!... the template bearing slipped off the template and I took out a deep chunk.
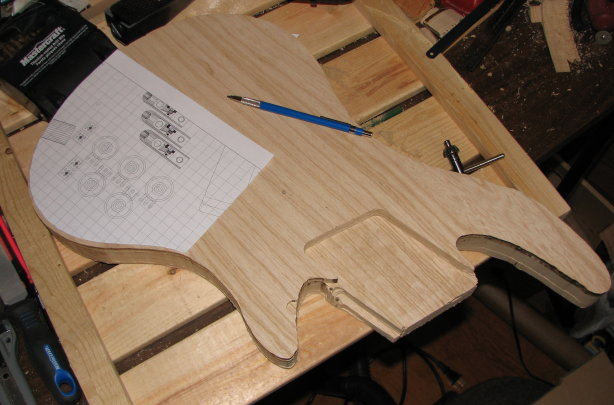

Next I drill the holes for the controls. I figured it would be safer to
drill them through solid wood than wait and have to drill through
the thin wood that remains after cutting the control cavity.
I cleaned up the edges around the neck pocket and then rounded off the
corners and smoothed out all the edges with a sanding drum in my drill
press. I don't have much detail on this part. It was relatively easy, but
time consuming.
Next I drilled a 15/16 hole for the locking output jack. Unfortunately I
had to use a spade bit, since forstner bits are less than ideal in a hand
drill, and the body was kind of awkward to hold for the drill press (also I
don't have a 15/16" bit and they're not really easy to find.
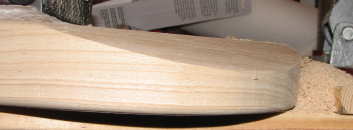
I then ran a roundover bit around the body. Dammit! Here I learned to check the entire
path the bearing will roll along before starting. I forgot all about the hole I just
cut in the last step and when I got to that point the bearing rolled into the hole and I took out
another chunk of wood that I didn't intend.
 Fortunately, that was an area
that I thought needed a bit of cosmetic work anyways, so I cut it down with a surform
plane until the edge was straight again. I also rounded out the rest of
that curve, since it stuck out a bit far and looked disproportionate.
Fortunately, that was an area
that I thought needed a bit of cosmetic work anyways, so I cut it down with a surform
plane until the edge was straight again. I also rounded out the rest of
that curve, since it stuck out a bit far and looked disproportionate.
next I did the arm cut with the surform plane. It actually worked
surprisingly well. It looks like a cheese grater, but it actually does work
as a plane. The surface came out really nice and flat. \

 The belly cut was slightly trickier, since it's curved instead of flat, but a round
surform file actually made it surprisingly simple.
The belly cut was slightly trickier, since it's curved instead of flat, but a round
surform file actually made it surprisingly simple.
 (oops.. continuity error. You don't see that cavity drilled yet. I forgot
to take a pic until later)
(oops.. continuity error. You don't see that cavity drilled yet. I forgot
to take a pic until later)
Prev: The Build (page 1) Design Next: The Build (page 3)