The build, continued:
After that I had to decide how I wanted to get rid of that first bad router-slip.
I figured I was going to have to take out a lof of material at that point,
and couldn't see a way to cut it deep enough to remove the mistake, and not
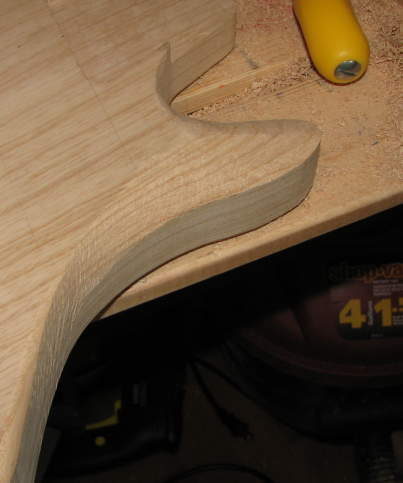
make that horn look way too scrawny. At that point I decided to take a
risk. I'd have to drop the original plan to just do the whole thing flat
and round it out with a roundover bit and actually carve it instead. I
decided on what I believe is a fairly unique curve (though more likely I've
just never noticed it elsewhere) Instead of cutting a completely new facet,
or just blending into the faces with a smooth curve, I decided to blend
between the two faces. The curve starts flat on an edge, and spirals over
to be flat on the face. I was a bit scared that I was just going to screw
it up, cutting freehand with no previous experience, but I think it turned
out really good.
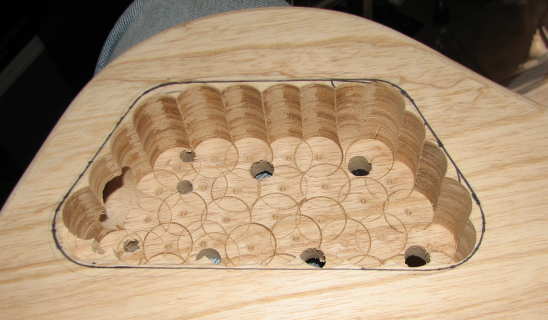
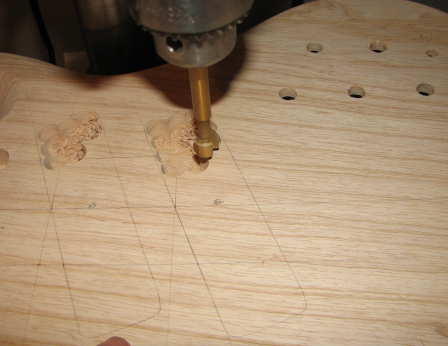
Whew.. enough with the freehand... Back to some nice simple machine work. I
was doing some more browsing around on the talkbass.com luthiers' corner and
ran into a great piece of advice I couldn't believe I never thought of. Buy
some forstner bits and do most of your material removal with them.. Just use
the router for cleanup. This was a HUGE improvement. the bits cut much
cleaner and more smoothly and without the tearout I experienced when I cut
out the body.
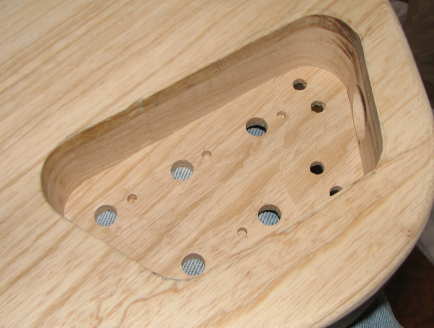
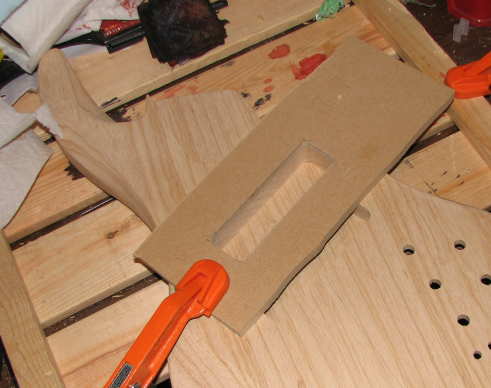
Same deal with the pickup cavities. I drew out the centrelines and measured
their positions and angles. then drilled and routed them after making
another template. They ended up a tiny bit too tight at the ends, so I
shifted the template over about 1mm and then trimmed out at one end.
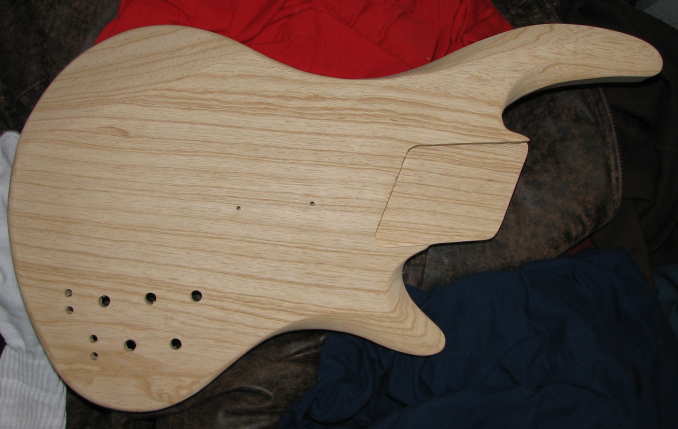
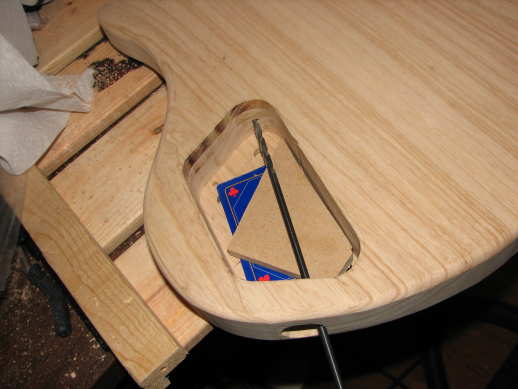
next I drilled the wiring hole for the pickups with a long drillbit. I used
a chunk of scrapwood and some playing cards to give me a nice parallel guide
surface at just the right height to get the hole at the bottom of the pickup
cavities.
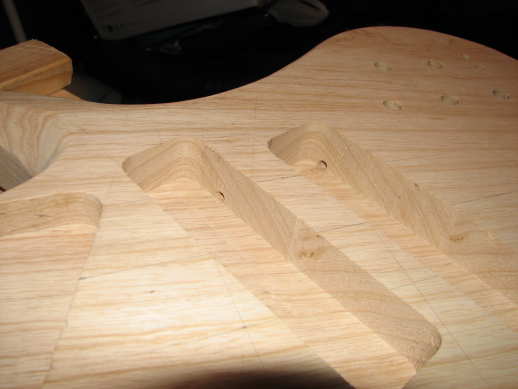 Right on target. :)
Prev: The Build (page 2) Next: The Build (page 4)