I really like the look of a dyed transparent finish. Most of the advice I got on this is that it's usually done on maple, and when tried on porous woods like swamp ash usually looks really bad/streaky. As an alternative, most advised using a dark coloured pore filler, and then a tinted laquer for colour. I pretty much just ignored all of the advice and did it how I originally had in mind (though their suggestions gave me some ideas what to look out for).
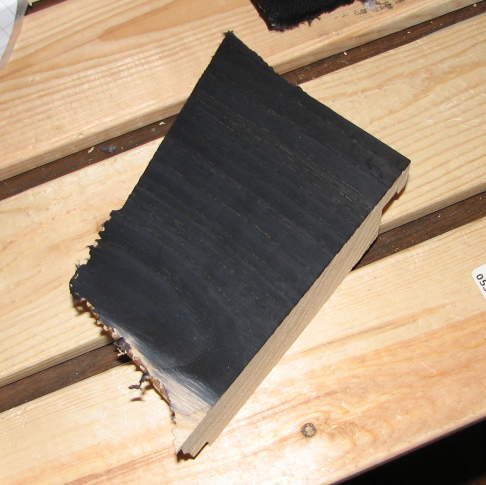
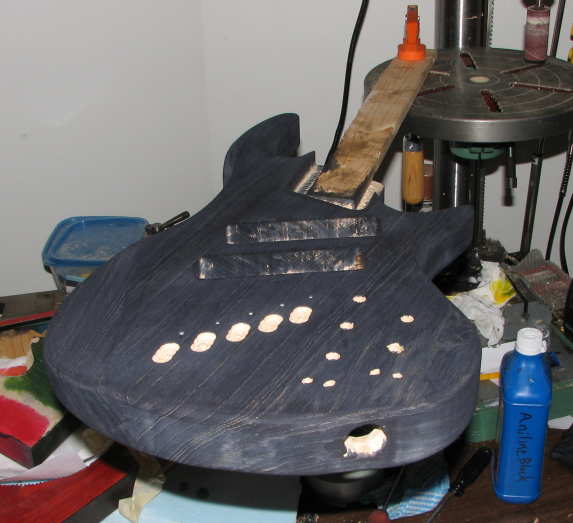
I dyed a piece of scrap black with the alcohol based dye.
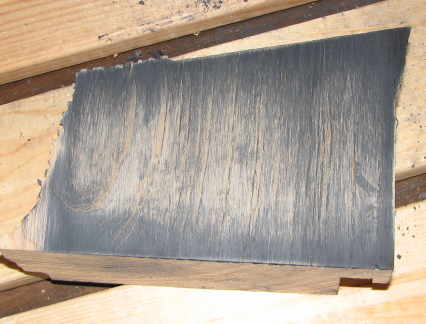
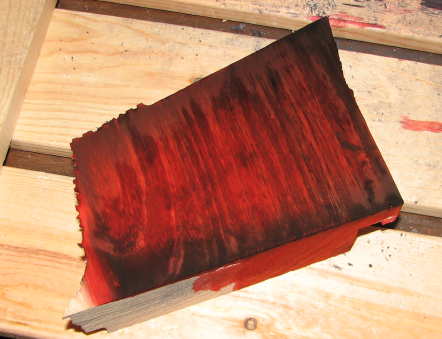
I went and bought a bunch more dyes (water based this time) including two new reds. One of them was very similar to the other red I already had, and the other one was really bright like a fluorescent magenta. I tried a mix of the two that looked really promising while it was still wet, but after drying it was still really hot pink. I tried layering them as well, but it never looked quite right.
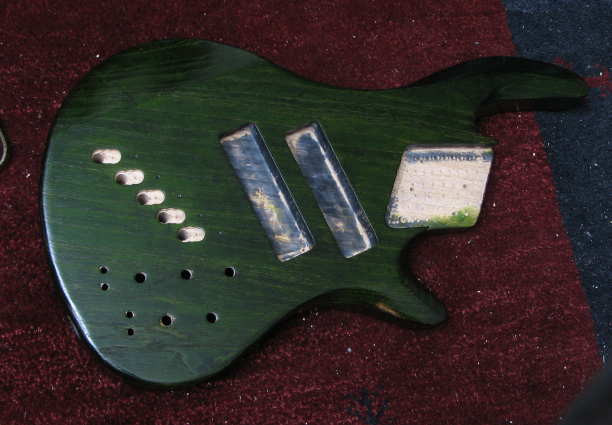
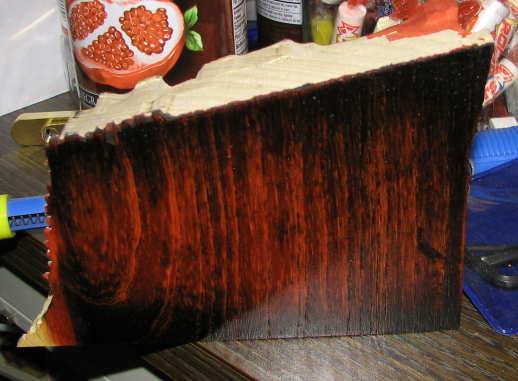
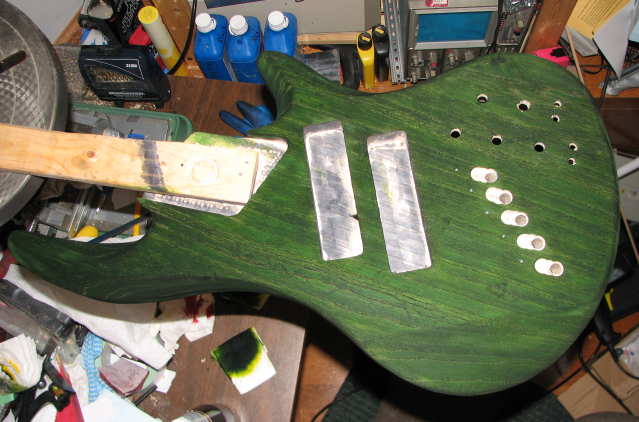
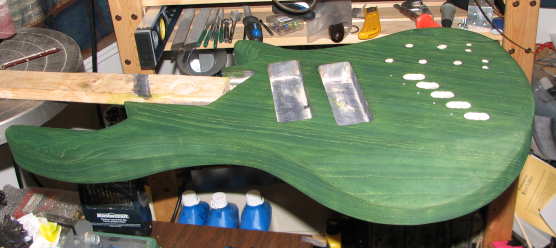
Meanwhile I had tried a peacock blue (which was also a bit too fluorescent) and a forest green. The forest green just seemed to look good on every sample I tried. I did up some samples very dark, some quite light. various amounts of black for accent. They all looked different, but none looked bad, with the exception of straight green with NO black accent. (and I bet even that would have looked good after a few coats of the poly) At this point I decided to dump the original idea and go with green instead. I'll probably do my next bass in red, now that I've had some practice.
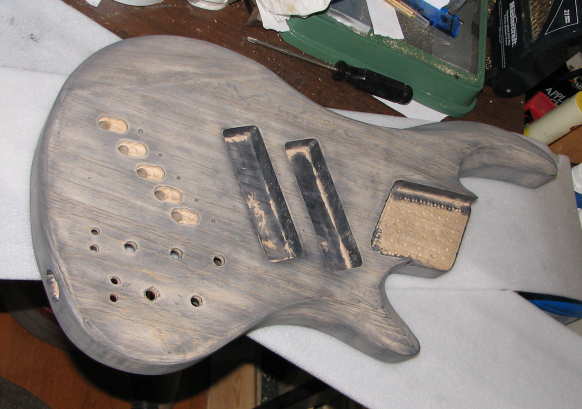
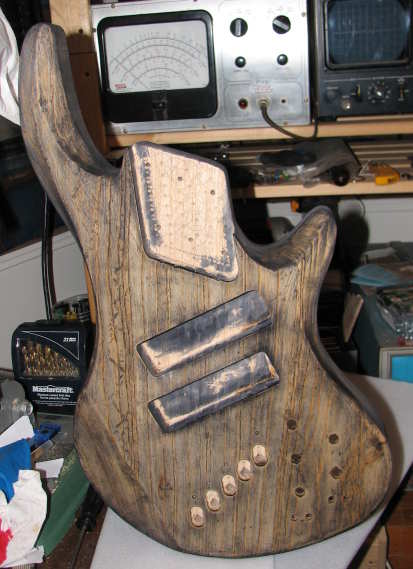
I dyed the body black, same as I had done my samples.
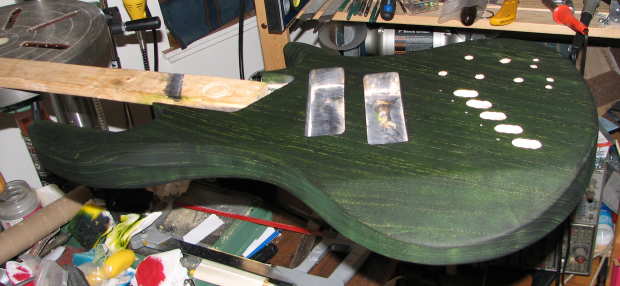
I put on the green dye. It seems that it reaches a saturation point eventually, so I got the most consistant results when I just kept on rubbing in more dye any time an area looked like it had soaked it all up. Swamp ash is like a sponge. It took a fair bit of dye. When the colour was fairly consistent, and around the right shade I stopped and let it dry really well.
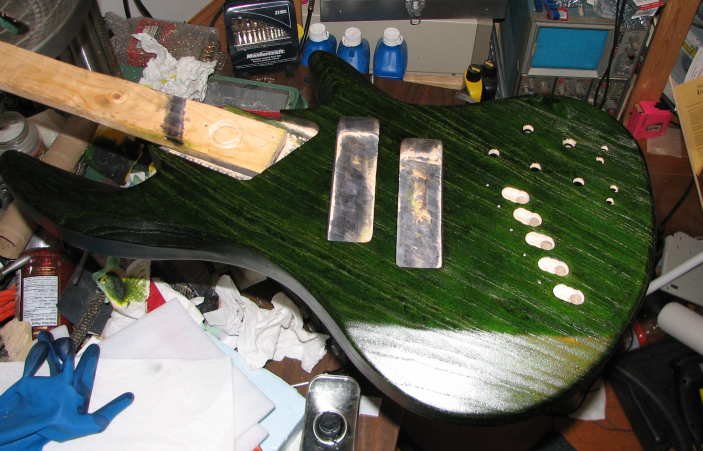
Next came the poly. With no pore filler, it will soak up a lot of poly. I just rubbed it on with a piece of an old (but clean) t-shirt. I screwed a piece of scrap wood where the neck would normally go, then clamped it to the table on my drillpress. So I'd be sure not to miss any spots, I followed a routine. I started with the edges, then I did all of the corners between the back and sides and edges of cavities etc., filled in the rest of the face, then flipped it over and did the same on the front.
The first several coats pretty much dissappeared before I was even finished applying them, but I gave them 4 hours between coats anyways.